.jpg)


Bien débuter en échographie clinique : prendre en main une sonde, maîtriser le geste l'orientation de la sonde par rapport à l’image
L'échographie clinique est en train de révolutionner la pratique médicale, offrant aux professionnels de santé un outil précieux pour améliorer la prise en charge des patients. Cette technique d'imagerie non invasive et rapide permet d’enrichir l’examen physique. Apprenez les bases de l’échographie, les gestes de base et les essentiels de l’interprétation par la confrontation du tableau clinique avec les images.
Se lancer dans l'échographie clinique présente de nombreux avantages. Tout d'abord, cette compétence permet d'améliorer la qualité et la rapidité du diagnostic, en fournissant des informations complémentaires à l'examen physique. De plus, l'échographie clinique peut être réalisée rapidement et au lit du malade, ce qui vous permet de gagner du temps et d'optimiser la prise en charge de vos patients. Enfin, cette technique non invasive et sans danger pour le patient peut être répétée autant de fois que nécessaire, permettant ainsi un suivi personnalisé et adapté.
Cependant, il est important de ne pas confondre échographie clinique et échographie de spécialité. Alors que cette dernière est généralement réalisée par des médecins radiologues, l'échographie clinique peut être pratiquée par des professionnels de santé de différentes spécialités (médecins généralistes, urgentistes, spécialistes, sages-femmes, infirmiers…) directement au chevet du patient, par un soignant imprégné par le contexte clinique global. L'objectif de l'échographie clinique est de compléter l’examen clinique en visualisant les organes internes, répondre à une ou plusieurs questions diagnostiques claires, généralement sous forme binaire (présence ou absence), afin de faciliter une prise de décision plus adéquate et précise concernant la prise en charge du patient.
Il est important de souligner que la détection d'un signe spécifique peut considérablement enrichir le résumé syndromique et affiner l'orientation diagnostique. En revanche, l'absence de ce signe, ou sa non-détection par le praticien, peut souvent nécessiter le recours à des explorations complémentaires par imagerie pour obtenir un diagnostic précis.
Pour vous former à l'échographie clinique, un certain investissement en temps et en énergie est nécessaire. Le parcours d'apprentissage comprend généralement plusieurs étapes, allant de la formation théorique à la pratique encadrée, en passant par l'acquisition de compétences techniques et d'interprétation des images. Une fois formé à l'échographie clinique, les bénéfices sur le moyen et le long terme sont nombreux. Vous pourrez ainsi améliorer votre pratique quotidienne, en étant capable de poser des diagnostics d’orientation plus précis et plus rapides. De plus, l'échographie clinique vous permettra de renforcer la collaboration avec les différents acteurs de votre réseau, en facilitant le partage d'informations et la coordination des soins.
Les bases de l’échographie clinique
Pour bien débuter votre apprentissage de l’échographie clinique, il vous faudra tout d’abord comprendre les notions fondamentales de l’imagerie par ultrasons. Cet article se veut une initiation aux notions fondamentales de l’imagerie par ultrasons, à la prise en main d’un échographe portable et à la compréhension d’une image d’échographie.
Les compétences que vous aurez acquises après avoir fini cet article :
- Comprendre le fonctionnement de base d’une sonde d’imagerie par ultrasons ;
- Comprendre le comportement des ondes ultrasoniques sur des tissus et structures à différentes compositions ;
- Comprendre l’importance du positionnement du patient et de sa participation active à l’examen ;
- Apprendre à se situer par rapport à l’image transmise par la sonde à l’écran ;
- Se repérer avec les contrôles basiques ;
- Sélectionner la bonne fréquence du transducteur ;
- Pratiquer et maîtriser le geste et les mouvements lors de la prise en main de la sonde ;
- Entretenir et désinfecter votre sonde au début comme à la fin de l’examen.
Comprendre la théorie de l’échographie
Un échographe, qu’il soit sur chariot ou ultraportable est une machine relativement simple, composé d’une sonde qui embarque un transducteur qui génère et reçoit des ondes ultrasoniques, d’un ordinateur, d’un téléphone ou d’une tablette qui traite les signaux et d’un écran qui montre les images générées en temps réel.
La partie de la sonde qui se place au contact de la peau du patient s’appelle le nez de sonde. Toutes sondes possèdent un indicateur pour aider l’utilisateur à se repérer et à distinguer la gauche de la droite de la sonde. Les techniques de balayage de la sonde pour localiser et obtenir des images nettes seront abordées plus tard dans cet article.
.png)
L’échographe émet donc des ultrasons ; des ondes sonores dans un domaine de fréquence trop élevé pour être détecté par l’oreille humaine. Les ondes sonores mécaniques générées par le transducteur de l’échographe se propagent à travers les tissus et créent une perturbation mécanique locale, éphémère et non irradiante grâce à l’impédance acoustique des tissus. L’impédance est la propriété des tissus qui représente leur résistance à la propagation des sondes sonores.
Comment les différents tissus répondent aux ondes sonores
Basse impédance (le gris très sombre ou noir)
Les structures ayant une impédance acoustique basse permettent le passage complet des sondes sonores → elles génèrent ainsi une image très sombre ou anéchogène.
Exemples : fluides divers, sang, urine...
%20(1).png)
Haute impédance (le gris)
Les structures ayant une impédance acoustique haute reflètent partiellement les ondes sonores → elles génèrent ainsi une image grise.
Exemples : organe solide, foie, rate
%20(1).png)
Très haute impédance (le blanc)
Les structures ayant une très haute impédance acoustique reflètent entièrement les ondes sonores → elles génèrent ainsi une image blanche. Les structures telles les os ne permettent pas le passage des ondes sonores, ce qui fait qu’elles reflètent des ombres anéchogènes (très sombres).
Exemples : plèvre, os, implants métalliques, diaphragme...
%20(1).png)
Les gaz (le gris trouble, image d’artéfact)
Les gaz répandent les ondes sonores, ce qui produit une image grisâtre trouble.
Exemple : poumon
%20(1).png)
Comprendre le choix de fréquence par rapport à l’organe
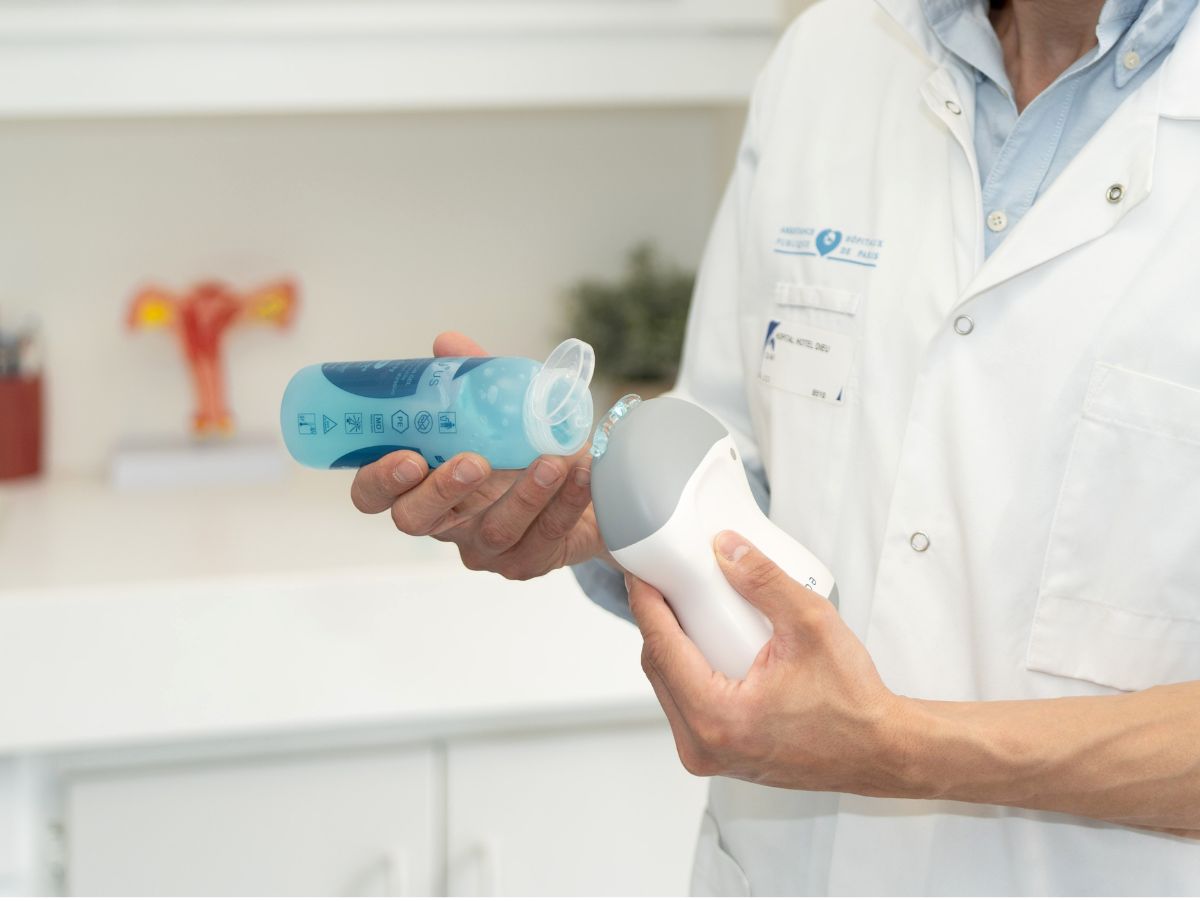
Différentes fréquences sonores produisent des images à différents niveaux de profondeur. Selon l’organe ou la profondeur des tissus que vous cherchez à regarder, vous devez donc régler votre sonde avec la bonne fréquence. Sur un échographe sur chariot, vous devez choisir la bonne sonde selon l’usage, tandis que sur un échographe portable ou ultraportable l’ensemble des fréquences est présent sur un seul nez de sonde (comme c'est le cas d'echOpen O1) ou sur deux nez de sonde (convexe et linéaire).
Pour déterminer la fréquence à utiliser, souvenez-vous de cette règle de base de l’échographie :
- Plus les structures sont superficielles, plus la fréquence doit être élevée.
- Exemple : vaisseaux sanguins superficiels → 7,5 MHz à 10 MHz
- Plus les structures sont profondes, plus la fréquence doit être basse.
- Exemple : foie → 3,5 MHz
La sonde convexe, aussi connue par sonde abdominale est la sonde la plus versatile car elle permet de visualiser la plupart des structures (nombreuses) dans l’abdomen, souvent profondes. Sa fréquence, qui se situe souvent entre 2 et 5 MHz, ainsi que son large champ de vision, permet de capturer plusieurs organes dans une même image et de constater la présence d’épanchements. Cependant, elle peut être difficile à manier si vous devez regarder par des fenêtres intercostales.
La sonde phased array, parfois appelée sonde cardiaque, est conçue, entre autres, pour l’échocardiographie. Avec des fréquences variables entre 1 et 5 MHz, elle permet de regarder plus facilement le coeur par des fenêtres intercostales.
La sonde linéaire propose une fréquence plus élevée (à partir de 7,5 MHz), et permet de regarder des structures en surface comme les vaisseaux ou la plèvre superficielle. Son nez linéaire permet de regarder facilement la plèvre par les fenêtres intercostales. Au vu de sa gamme de fréquences, elle ne permet pas de visualiser les organes profonds.
De leur côté, les échographes ultraportables intègrent dans un même nez de sonde une gamme de fréquences qui convient à la plupart des cas d’usage. echOpen O1, par exemple embarque 3 fréquences 3,5, 5 et 7,5 MHz. Versatile, la forme du nez de sonde des ultraportables convient également à l’exploration des différentes parties du corps humain.
.png)
Se repérer par rapport à l’image
L’un des aspects que vous allez maîtriser est la compréhension de l’orientation de l’image à l’écran - attention, ce n’est pas forcément intuitif si vous êtes débutant.
Commencez par localiser l’indicateur de votre sonde :
- En coupe transversale, l'indicateur de la sonde doit pointer vers la droite du patient (car ce dernier est couché en position anatomique de référence, et est vu par le bas, comme au scanner).
- En coupe longitudinale comme en coupe coronale, le marqueur doit pointer vers la tête du patient.
.png)
Lors de vos premières coupes, nous vous recommandons de faire et refaire l’exercice d’orientation jusqu’à que cela devienne intuitif.
Dans l’image ci-dessous nous vous présentons un exemple d’une échographie du rein droit du patient. La sonde est posée sur la peau du patient en position longitudinale, avec l’indicateur pointant vers la tête du patient.
.png)
- Le haut du cône correspond à la surface sur laquelle la sonde est posée (peau du patient) ;
- Le bas du cône montre les structures plus profondes. Si vous avez placé la sonde sur l’abdomen de votre patient (comme dans l’exemple ci-dessous), en bas du cône vous verrez les structures plus proches de sa colonne vértebrale ;
- Sur le côte droit de votre cône vous verrez les structures plus proches du bas du corps de votre patient ;
- Sur le côté gauche de votre cône vous verrez les structures plus proches de la tête de votre patient
.png)
Maîtriser le geste
Selon le cas, vous pouvez faire différents gestes pour déplacer la sonde et obtenir une image claire et centrée de ce que vous souhaitez observer. Vous pouvez également exercer une certaine pression contre la peau de votre patient pour vérifier la compressibilité d’un vaisseau ou dégager des poches de gaz qui obstruent la vue d’un organe.
Avant que le geste devienne intuitif, nous vous conseillons de vous entraîner sur vous-même sur plusieurs cadrans du corps. Pendant que vous le faites, vous constaterez que le gel échographique s’efface rapidement : il est important d’en appliquer souvent pour obtenir une image nette.
.png)
Utiliser le logiciel de votre échographe
Que vous vous entraîniez sur un échographe classique, portable ou ultraportable, vous devez vous habituer à utiliser les différents boutons, options et commandes ou boutons de votre machine. Ils seront légèrement différents sur chaque échographe, et les plus avancés peuvent présenter diverses options.
Cependant, pour commencer il vous suffit de comprendre les contrôles de base :
- Réglage des fréquences (ou de la profondeur) selon l’organe ou partie du corps.
- Réglage du gain (ou de la luminosité de l’image).
- Une image mal calibrée sera trop lumineuse ou trop sombre, et vous pourriez passer à côté de détails importants.
- Capture d’images ou boucles vidéo.
- Cette fonction vous permet d’enregistrer les coupes d’intérêt. Sur certains échographes classiques, vous pouvez également les imprimer. Sur les échographes plus récents, ainsi que sur la plupart des ultraportables, vous pouvez enregistrer vos images dans une galerie dédiée, où vous pouvez également insérer des notes ou créer un dossier pour le patient.
Désinfecter votre échographe
Une fois l’examen conclu, vous devez nettoyer et désinfecter votre sonde selon les instructions du fabricant. Dans la plupart des cas, la recommandation est d’essuyer la sonde à l’aide d’un papier absorbant. Ensuite, vous devez désinfecter le dispositif avec une lingette désinfectante.
Les prochaines étapes de votre initiation
Vous avez maintenant acquis les connaissances théoriques de base nécessaires pour réaliser vos toutes premières échographies de test !
La prochaine étape de votre formation consistera en l'interprétation des images et boucles, physiologiques comme pathologiques, ainsi que leur annotation. Cette étape vous permettra de développer votre expertise, d'affiner votre jugement clinique et votre compréhension de l’anatomie. Une fois ces bases acquises, nous vous inviterons à réaliser des échographies sur vous-même. Après une moyenne de trente coupes par organe, vous maîtriserez suffisamment le positionnement de la sonde et le geste qui vous permettra d'acquérir des images de qualité.
Après cette phase d'auto-apprentissage, vous commencerez à réaliser des échographies sur vos patients en mode test, pendant une période recommandée de plusieurs semaines. Cette étape vous permettra de mettre en pratique vos nouvelles compétences dans un contexte réel, tout en bénéficiant d'un encadrement et de retours constructifs de la part de vos pairs et formateurs.
Enfin, vous intégrerez pleinement l'échographie clinique dans votre pratique médicale quotidienne. Cette nouvelle compétence vous permettra de poser des diagnostics plus rapides et plus précis, d'optimiser la prise en charge de vos patients et de renforcer la collaboration avec vos confrères. En somme, la formation à l'échographie clinique est un investissement durable et bénéfique pour votre carrière professionnelle et la santé de vos patients. N'hésitez plus et engagez-vous dans cette voie prometteuse et passionnante !
Découvrez l'échographe portable echOpen !